Thursday, 12 June 2025

GOLDEN EGGPLANT WITH PARMESAN


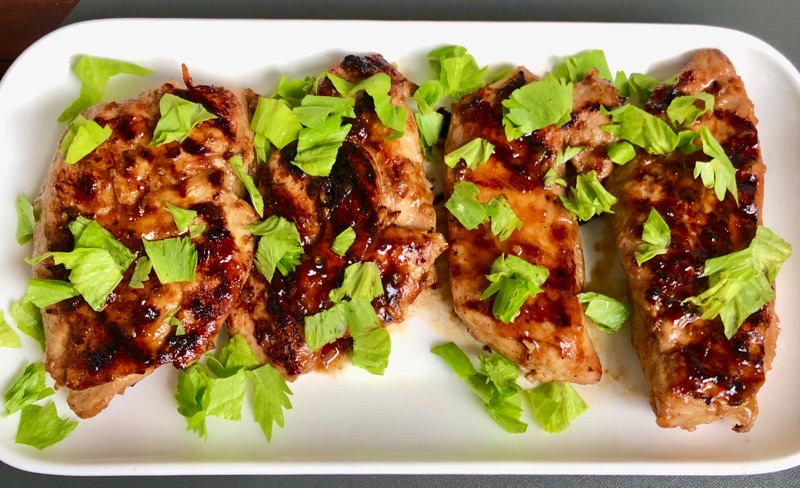
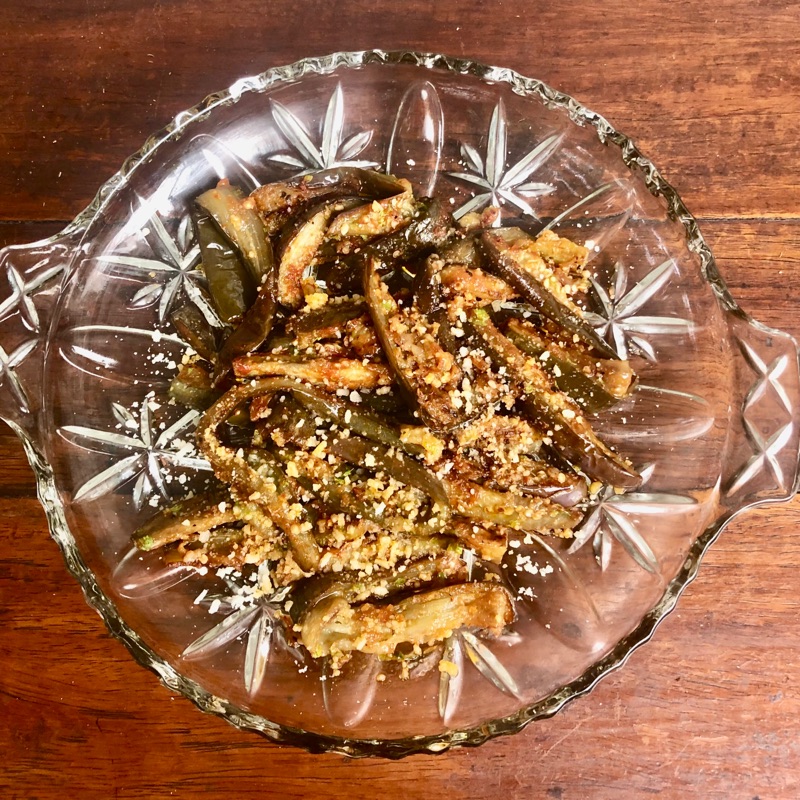
I always leaned on Pinakbet when cooking talong—until I stumbled upon this simple, flavor‑packed side. Picture tender, slightly crisp eggplant slices brightened with tomato paste and finished with a shower of Parmesan. Ready in under 20 minutes, it’s proof that humble ingredients can hit gourmet notes.


Why Make This:

Quick & easy: Minimal prep, one skillet

Minimal ingredients: No fuss, pantry‑friendly

Customizable: Swap herbs, add spice, go gluten‑free
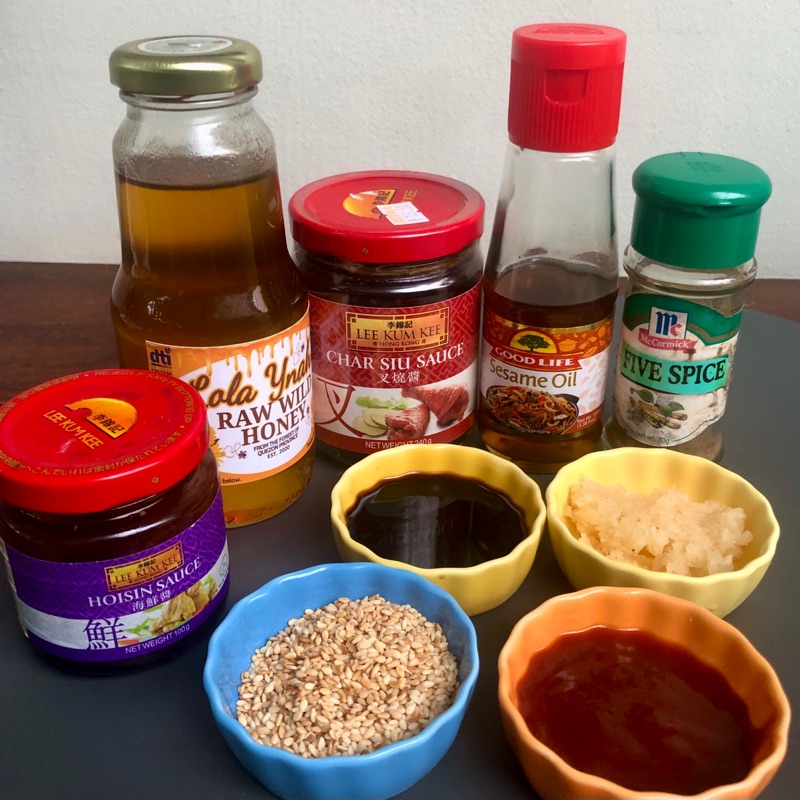

Ingredients:

• 3 small‑medium eggplants, halved lengthwise, then into 8 slices

• 1 tbsp cornstarch (or arrowroot for GF)

• Olive oil (for skillet + 1 tbsp for sauce)

• 1 tsp salt & 1 tsp ground pepper

• 1 tbsp tomato paste + splash of water

• 1 tbsp chopped celery leaves (or parsley/basil)

• 1 tbsp grated Parmesan (plus extra for garnish)


Instructions:

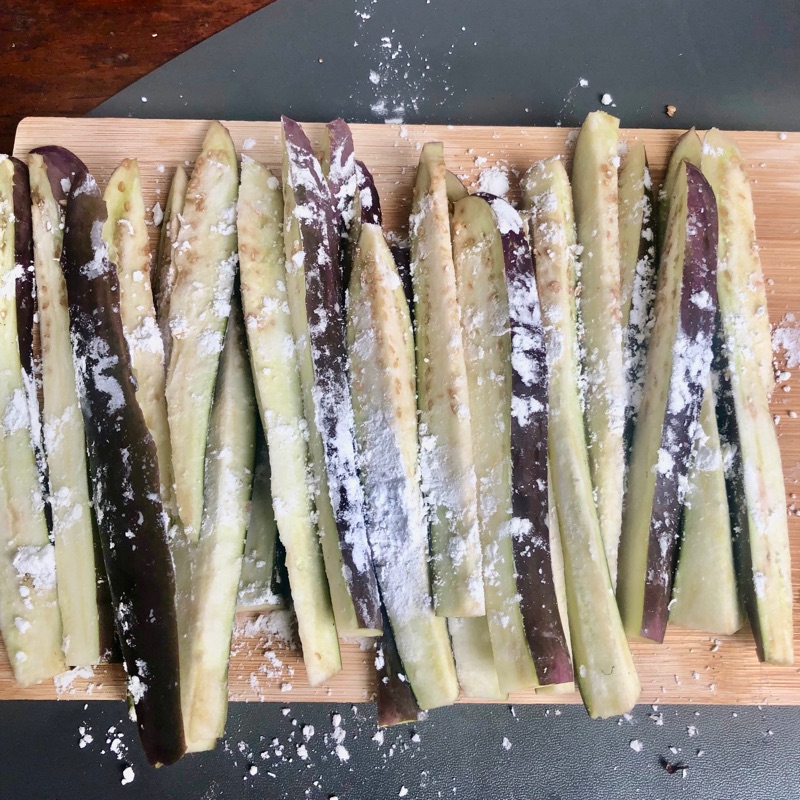
1. Prep: Wash eggplants and slice; pat dry.

2. Dust: Toss slices in cornstarch so each is lightly coated.

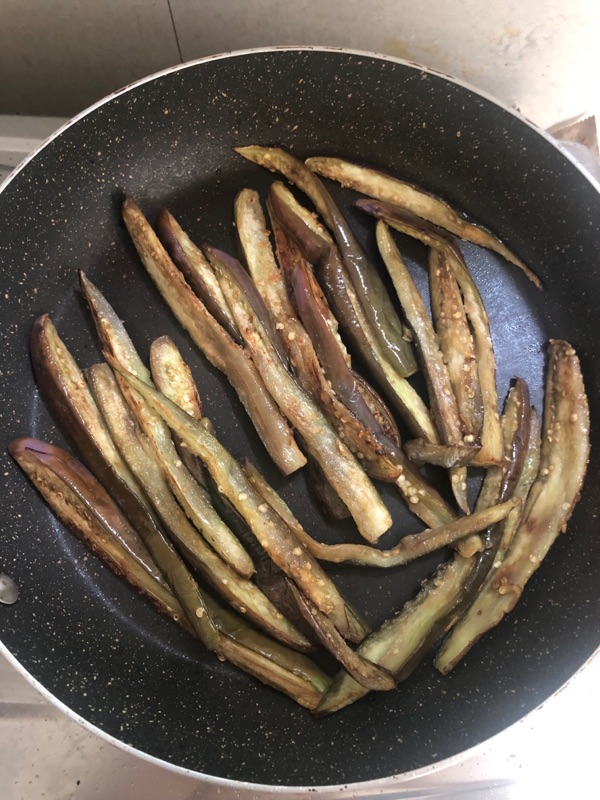
3. Cook: Heat a skillet over medium‑high with oil. Fry eggplant until golden on both sides (about 3–4 min per side)—edges should crisp, centers tender.

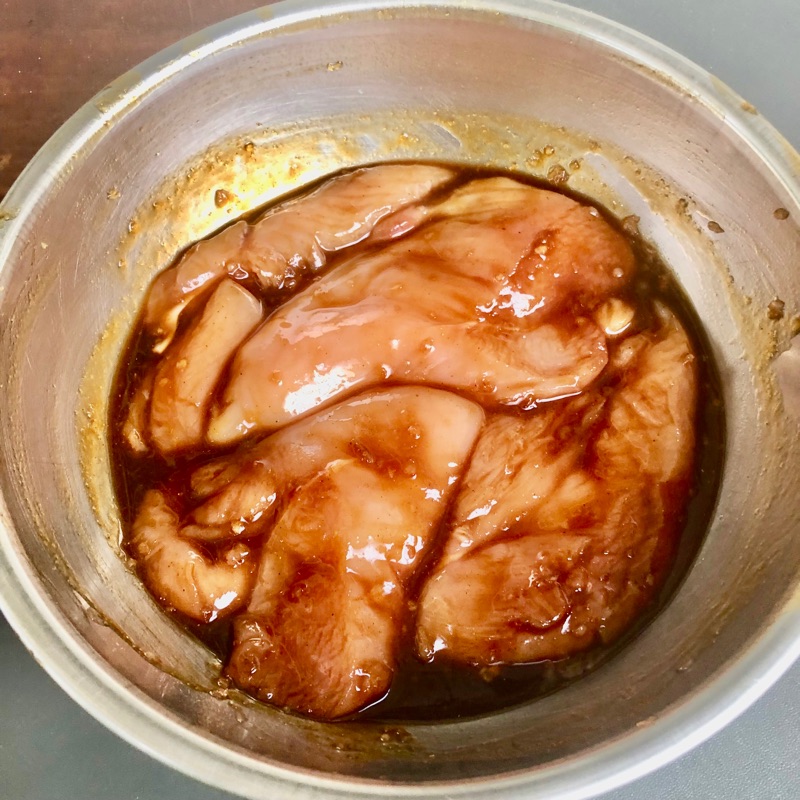
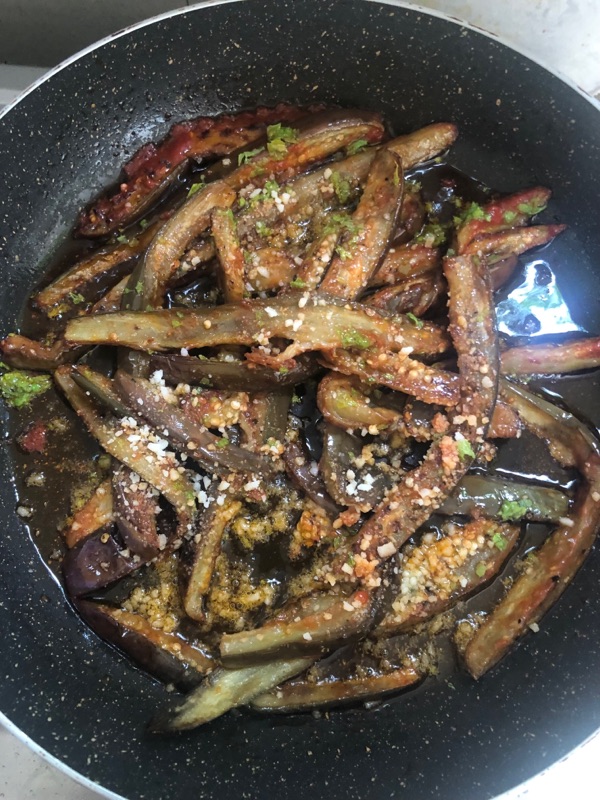
4. Sauce it up: Stir tomato paste, oil, and a tsp of water to thin. Pour over eggplant, coat evenly.

5. Finish: Sprinkle celery leaves and half the Parmesan. Plate and top with remaining cheese.

Tips & Variations:

• Add a pinch of chili flakes for a kick.

• Swap celery for basil for an Italian twist.

• Use arrowroot instead of cornstarch to keep it gluten‑free.


Serving idea:

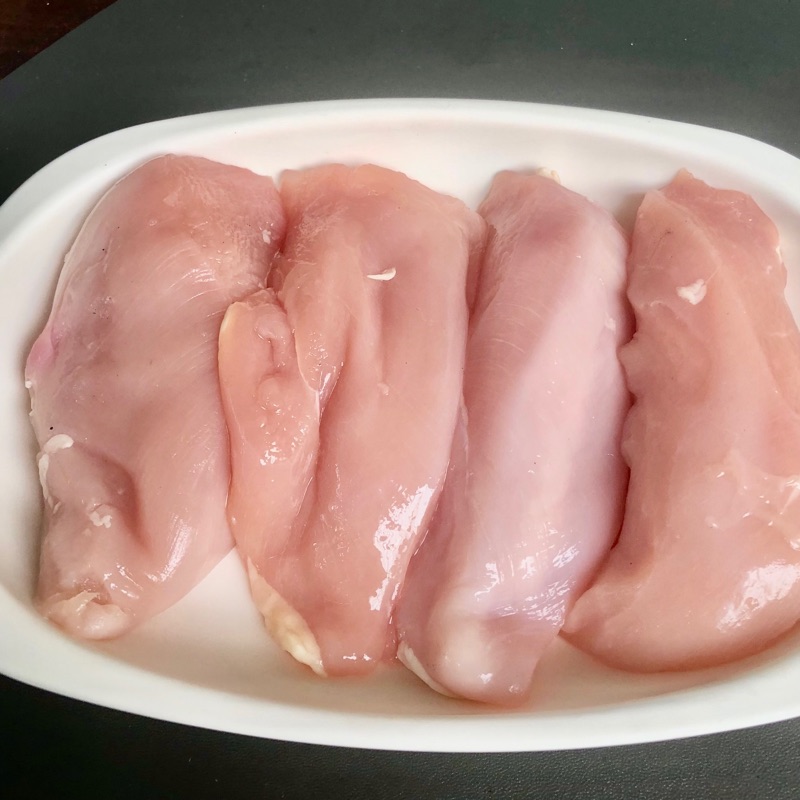
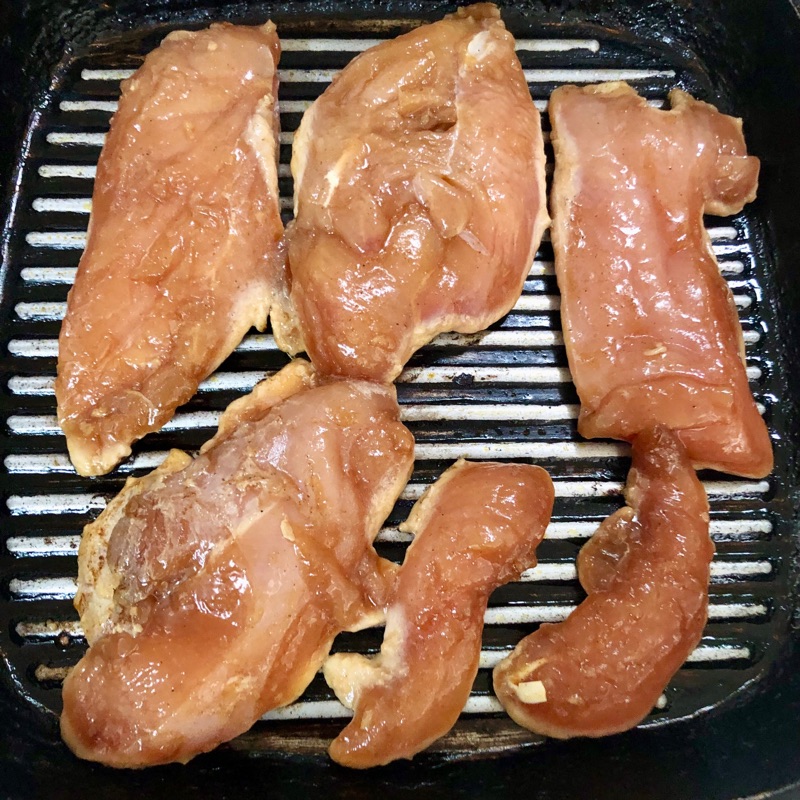
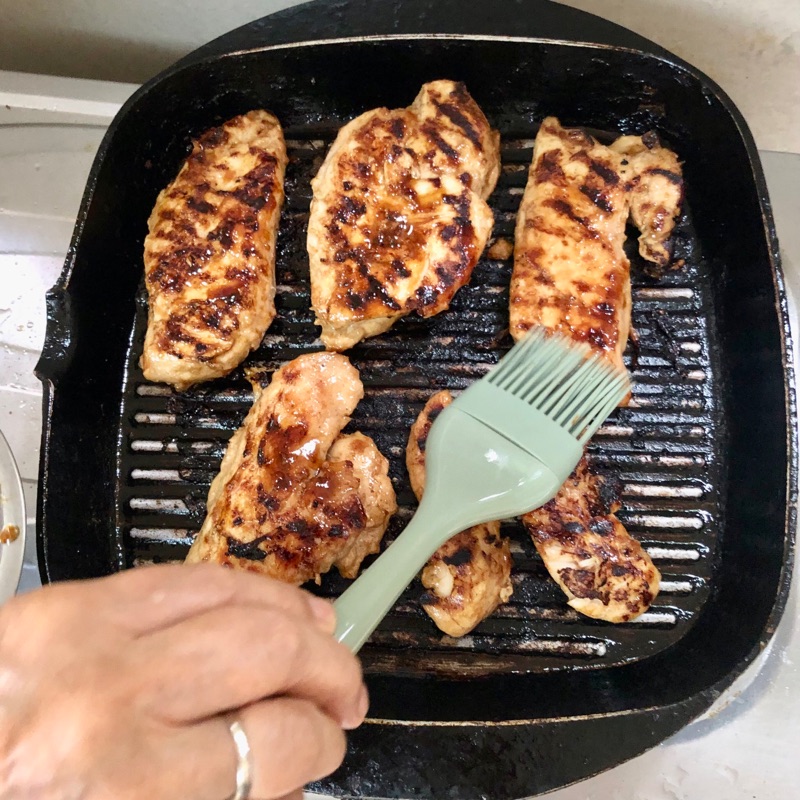
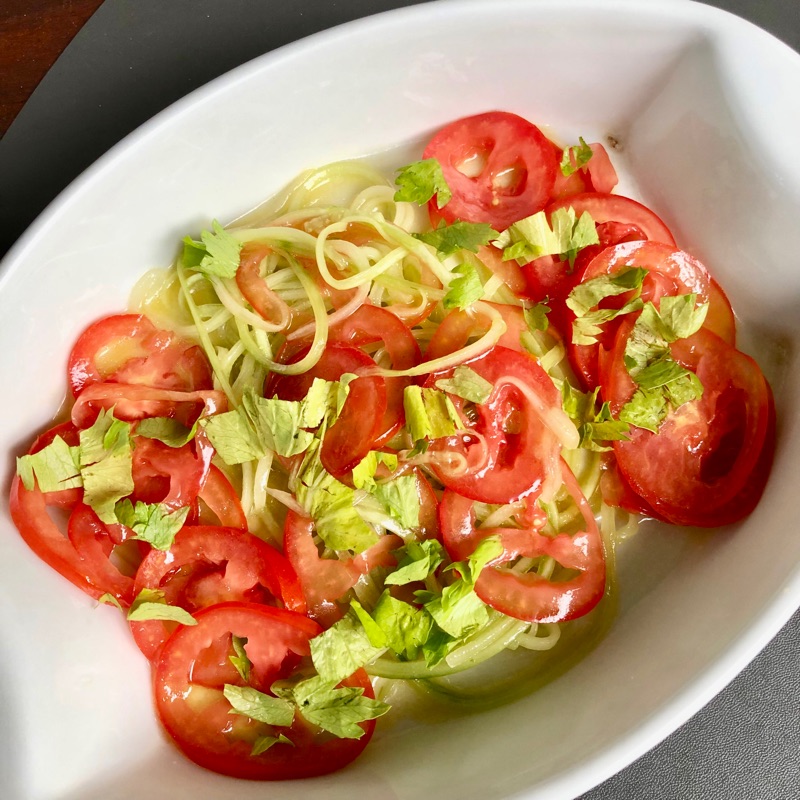
Pair with grilled chicken or toss into pasta for an easy meatless meal.


Who knew talong could feel so upscale with just a few pantry staples? Let me know what you swap in—basil? chili flakes? celery’s so underrated. 

Enjoy!


Friday, 6 June 2025

MY FIRST TRY AT COOKING CHICKEN CHAR SIU


Spoiler alert: Hubby loved it! 😄

I’ve been craving char siu for a while now. It’s one of those dishes I always enjoy during our visits to Singapore. But since our children have been visiting us lately, our travel plans were put on hold—and so was my next bite of char siu!


That craving led me to a fun idea: 
Why not try making it myself?

After browsing recipes online, I landed on a version from Simply Recipes that felt right—straightforward, pantry-friendly, and stress-free. I followed the instructions to the letter (for once!) and here’s how it went:

🛒 Ingredients


I used what I had on hand—specifically chicken breast, though chicken thighs are often preferred for their flavor and tenderness.

• 2/3 kilo chicken breast deboned

• 2 tbsp minced & mashed garlic

• 1/4 tsp Chinese five spice powder

• 2 tbsp honey

• 2 tbsp hoisin sauce

• 1½ tbsp soy sauce

• 1 tbsp ketchup

• 2 tsp sesame oil


🍳 Method

1. Make the marinade:

In a bowl, mix together garlic, five spice powder, honey, hoisin, soy sauce, ketchup, and sesame oil. Reserve about 3 tablespoons of this for glazing later.

2. Marinate the chicken:

Coat the chicken pieces thoroughly with the marinade. Cover and let it rest for at least 30 minutes—or overnight for best flavor.

Tip: Overnight marination really makes a difference!


3. Grill the chicken:

I used a stovetop cast-iron grill pan on medium-high heat. Cook the chicken for 6–10 minutes, turning occasionally.

To check for doneness, pierce the thickest part—the juices should run clear.


4. Baste with glaze:

During the final 2 minutes of grilling, brush on the reserved marinade to give the chicken that glossy, flavorful finish.


5. Let it rest & serve:

Rest the grilled chicken for 5–10 minutes before slicing and serving. This keeps it juicy!

🍽️ What to Serve with Chicken Char Siu?


Many suggest coleslaw or potato salad as classic sides. I went for something light and refreshing—a cucumber-tomato salad tossed in a honey-mustard vinaigrette.


💬 Final Verdict?


Did hubby like it?

Absolutely!

My homemade chicken char siu passed with flying colors. 🎉

📝 Notes for Next Time:

• I might try it with chicken thighs for more juiciness.

• Leftovers? Perfect for sandwiches or rice bowls!


Wednesday, 4 June 2025

APPLYING FOR THE EXPANDED CENTENARIAN ACT OF 2024; MY JOURNEY AT 80


Under the government’s Expanded Centenarian Act of 2024, senior citizens who reach the milestone ages of 80, 85, 90, 95, and 100 are now entitled to a ₱10,000 benefit, plus 5000 at each stage — and a ₱100,000 reward at age 100.

Since I’m turning 80 next month, I was eager to apply. But once I saw the list of requirements, I felt a bit overwhelmed — I almost gave up before I even started!

Completing the four-page application form alone felt like a major hurdle. But I reminded myself: no pain, no gain! So, I pressed on.

One of the main requirements was a National Commission of Senior Citizens (NCSC) Registration Reference Number (RRN) — which I didn’t have. Applying online for it was no easy feat. The form asked for several government ID numbers, and each had to be typed in exactly right. It took time and patience, but at last, I received my RRN!

Surprisingly, submitting my documents to city hall was much easier. The staff were accommodating and polite. I was asked to submit photocopies of two valid IDs, a 2x2 photo, and a full-body photo printed on 4R paper.

Across the street, I found a friendly elderly man running a photocopying booth. As soon as I mentioned my application, he knew exactly what I needed. He’d already helped many seniors through the process.

Next door, at the notary public office, I was greeted by another kind elderly receptionist. We chatted while my documents were processed — and I realized they probably enjoy a little conversation to break up their day, too.

What stood out most was how kind the city hall employees were. The only tension came from some of the senior applicants who were understandably impatient. When I told my husband about it, he gently reminded me: many seniors might be feeling dizzy, tired, hungry, or in urgent need of a restroom. Their impatience often has a reason.

I was told to wait for a call — or follow up myself — within two months. Once the payment voucher is ready, I’ll need to return to sign and claim the benefit.


Was it a bit of a hassle? Yes.

Was it worth it? Absolutely.

Because after all — at 80, we’re still up for a challenge.